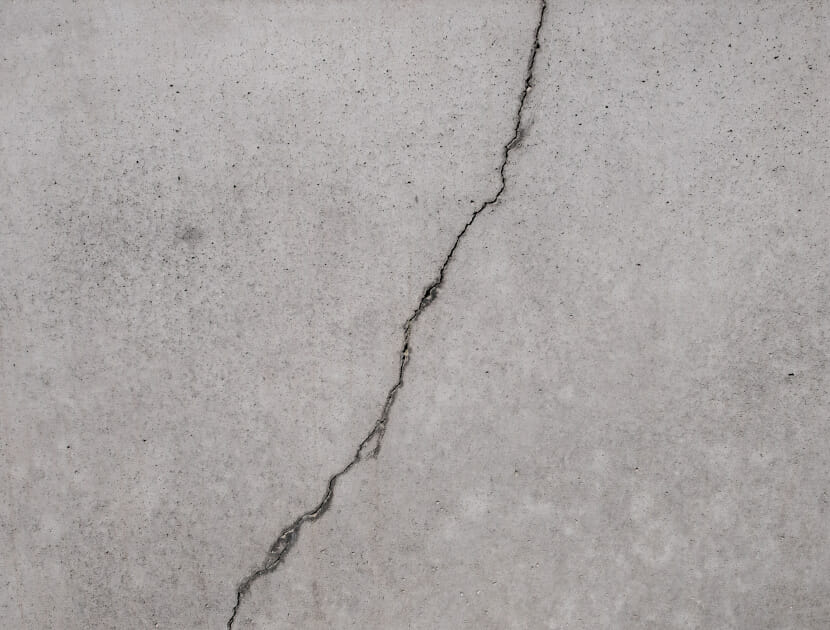
This article discusses the different types of sand and cement floor screeds, their uses and some of the causes of failure.
BS EN 13318 defines a screed as: A layer or layers of screed material laid in situ, directly onto a base, bonded or unbonded, or onto an intermediate layer or insulating layer. Additives and proprietary screeds are available, which can improve the properties of concrete screeds. In addition, there are also gypsum-based screeds which have enhanced properties, such as being less prone to shrinkage. Cracked or tenting floor tiles, and bubbling sheet floor coverings, are both issues that are sometimes caused by poor installation onto a concrete floor screed. However, damaged floor finishes are sometimes actually a reflection of a failure in the screed to which they are applied.
DIFFERENT SCREED TYPES
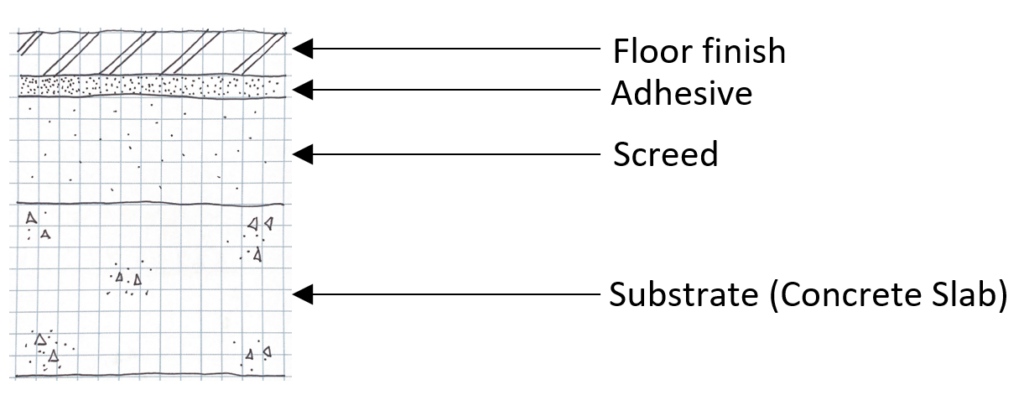
Bonded
These types of screed are traditionally 25mm-40mm thick, although due to tolerances in concrete slabs, the specified screed depth should ideally be 40mm to ensure a minimum screed thickness of 25mm.Using a bonded screed should reduce the risk of the screed curling or shrinking, provided a sufficient bond with the base can be ensured. This type of screed is likely to be found in industrial buildings where the flooring will be subject to heavy loads.
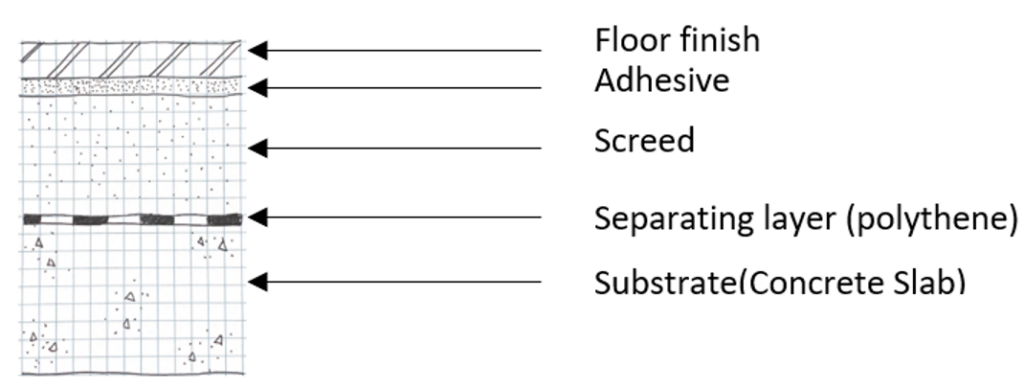
Unbonded
As you may have guessed, an unbonded screed does not adhere directly to the substrate. In this case a separating layer, usually a polythene membrane, is laid first before pouring the screed. This type of screed should not be less than 50mm, and therefore to allow for tolerances, should be specified to be at least 70m thick. However, there is a high risk of this type of screed curling. To overcome this, the thickness should be 100mm or thicker, or the screed should be reinforced across the joints. This type of screed is likely to be found in tenanted spaces such as shops. The unbonded nature of the screed allows incoming tenants to choose the floor build up and finish they wish to have.
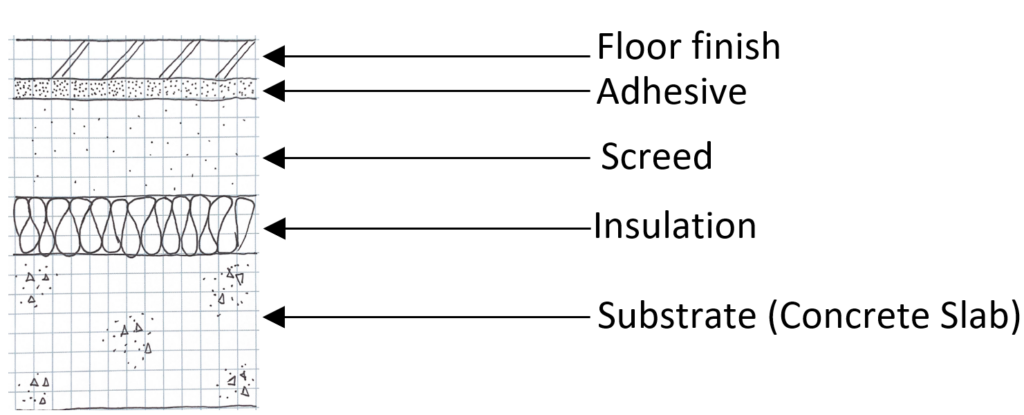
Floating
Floating screeds are unbonded screeds but generally laid on a layer of insulation. They are mainly used in structures with underfloor heating or for situations where acoustic or thermal insulation is needed. It generally requires a thickness greater than 65mm, or over 75mm for heavily-loaded floors.
SCREED INSTALLATION
150m2 is generally the maximum area of screed that a typical crew can lay in one day. The maximum width of one strip should be no more than 6m to avoid shrinkage cracks.
Once a screed is laid, it should be protected and allowed to cure, usually for seven days. This is generally done by laying a polythene sheet over the screed to prevent moisture evaporating from the screed too quickly. If the water evaporates too quickly then the screed will not cure or have the strength to avoid substantial shrinkage.
Once cured, 1 day of drying should be allowed per millimetre thickness for sand-cement screeds up to 50mm.It is therefore reasonable to expect a 50mm screed under good drying conditions to be sufficiently dry in about 2 months.
Drying rates can be subject to the conditions on site, with ventilation and air humidity being key factors. If the environment is too wet, it can delay the drying of the screed.
SCREED JOINTS
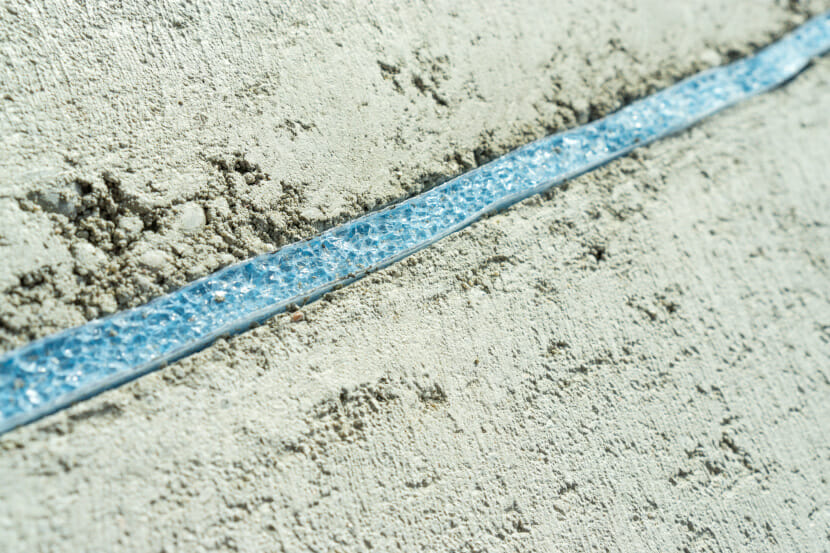
Any joints in the substrate should be reflected in a bonded screed. If this is not done, then any form of movement of the structure may cause the screed to crack. Where screeds abut walls or columns, a perimeter joint should be factored into the design, to take account of thermal movement. This is normally filled with a compressible foam.
Joints within the screed itself should also be factored into the design. This also allows for thermal expansion, but also reduces the risk of the screed cracking during the curing and drying process. Joints should be along the length of a screed bay at about 5m to 6m intervals. Joints for the purpose of reducing cracks within the screed should either be formed during the laying of the screed with a trowel, or should be sawn after the screed has hardened.
SCREED FAILURES
Debonding
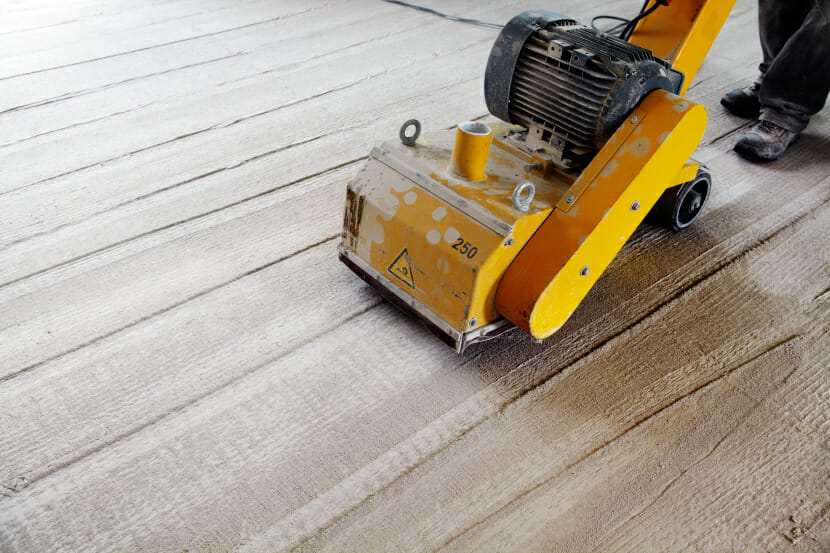
The main way that bonded screeds fail, is by failure of the bond between the screed and the substrate (debonding), which will likely lead to cracking and possibly displacement of the screed. Debonding of a screed can be caused either by the screed being too thick or the substrate not being adequately prepared. Preparation is either by shot blasting (firing of blast media, normally small steel balls) or scabbling (use of compressed air to hammer steel tips into the concrete).This removes any contaminants from the surface and removes the weaker top surface of the concrete allowing the screed to bond with the harder aggregates of the substrate underneath.
Curling
Both unbonded and floating screeds pose a high risk of curling during curing, as they are not restrained by the substrate underneath. Curling occurs when moisture in the screed evaporates from the surface, which then dries and shrinks at a faster rate than the body of the screed. Curling can disrupt floor coverings, induce cracking in adjoining building elements and cause unevenness in floor surfaces. To overcome this, steel fabric reinforcement which crosses the joints can be incorporated into the screed where there is a risk of curling.
Cracking
As screeds dry, they shrink. This will invariably lead to cracks in the screeds. Defects arise where the cracking has either not been adequately controlled, or not allowed for, either in the design or installation of the screed.
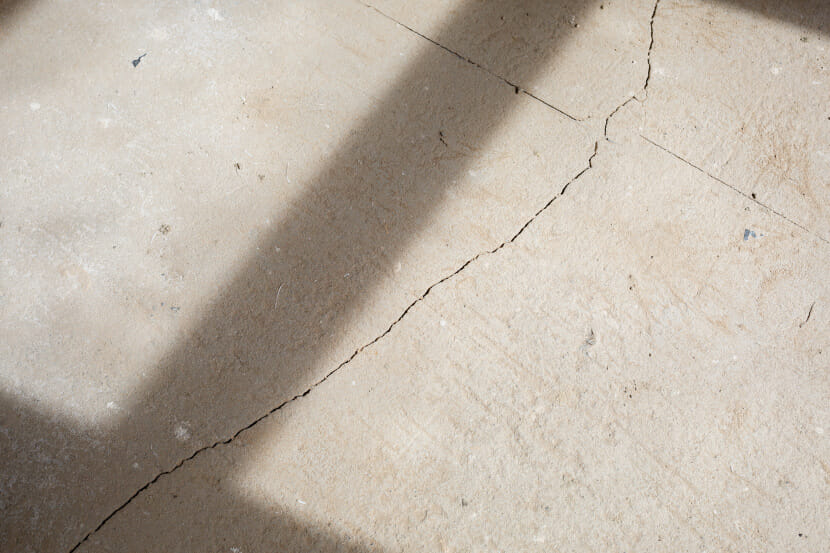
Where services such as pipework or electrical trunking are imbedded in screeds, if insufficient cover (the amount of screed over the services) or reinforcement is provided, then the screed will also likely crack. To overcome this, any cover should be at least 25mm, and from my experience, up to at least 40mm. Steel mesh reinforcement should extend at least 150mm to either side of the services.
Either a lack of joints, or insufficient joints in the screed (as described above) can also lead to excessive cracking.
If the screed dries too quickly cracking can occur, but if the screed does not dry sufficiently then any excess moisture in the screed can lead to floor finishes, especially timber flooring, being damaged.
Crumbling
If the screed is crumbling and has broken patches, then it may not have sufficient strength for the expected loading that the screed is subjected to. This could be due to the incorrect amount of sand and cement in the mix, either as specified in the design or as made up on site. To check for this the workability of the screed should be tested onsite.
This is done by forming a ball of screed; if the ball does not crumble or drip water, then the mix can be assumed to be correct. Fourteen days after installation, the strength of the screed can be tested using the Building Research Establishment drop hammer test. This is done by subjecting the screed to repeated impact blows by dropping an annular weight (not an actual hammer!) vertically down a guide on to a hardened steel anvil in contact with the screed surface.
The depth of the indentation from the resulting impact after four blows is measured to assess the screed’s ability to carry traffic without crushing under the imposed weight.
CONCLUSION
There are several ways in which a screed can fail, leading to damage to the screed itself, but also to any final floor covering that is overlaid on top of it. Although defects in a screed can potentially be latent, with a correctly designed and installed screed, these issues can be mitigated.
ABOUT THE AUTHOR
Austen Smith is a Forensic Architect in Hawkins’ Dubai office who specialises in construction defects and defects in architectural design. He has twenty years’ experience in construction projects spanning Europe, the Middle East, the CIS, East Asia and Australia.
